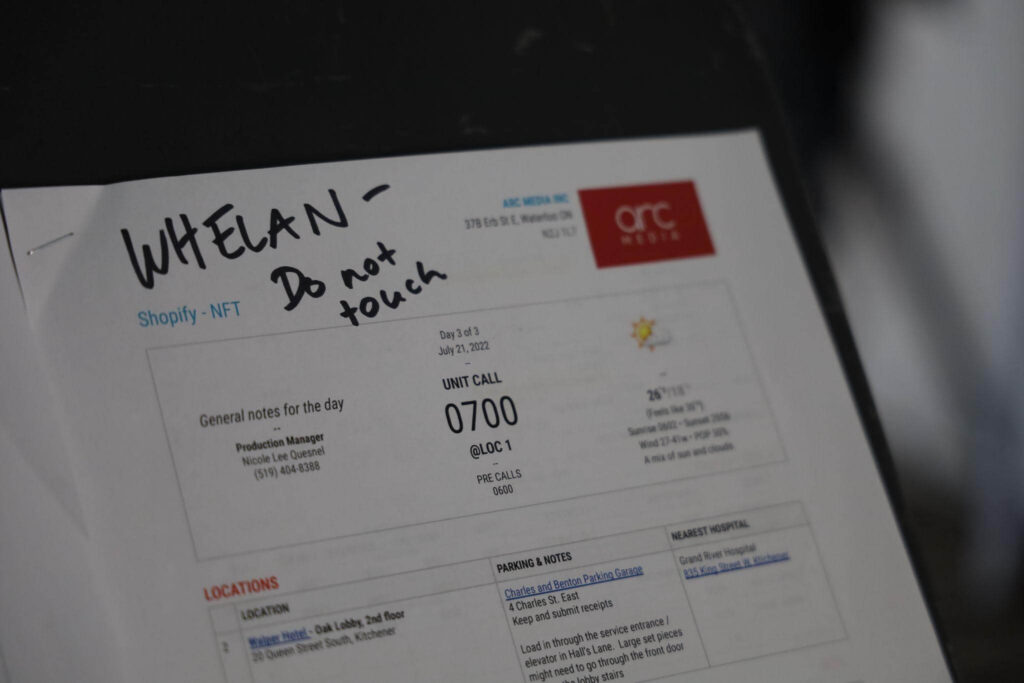
Hi! Whelan here. I was the director and producer of our Shopify video explaining NFTs. Today on our blog, I am going to walk you through (some of) our process to show you just what goes into making an explainer video like this. Enjoy!
The Ask
Create a video that easily explains ‘What is an NFT?’
My Initial Thought
‘Fun! But Wait…What is an NFT’?’
The Journey
Fortunately, the team at Shopify already had an engaging and comprehensible script that gave us a good understanding of the topic and an excitement to bring it to life. With some supplemental research and discussions with the team, we dove head-first into Pre-Production.
Design & Pre-Production
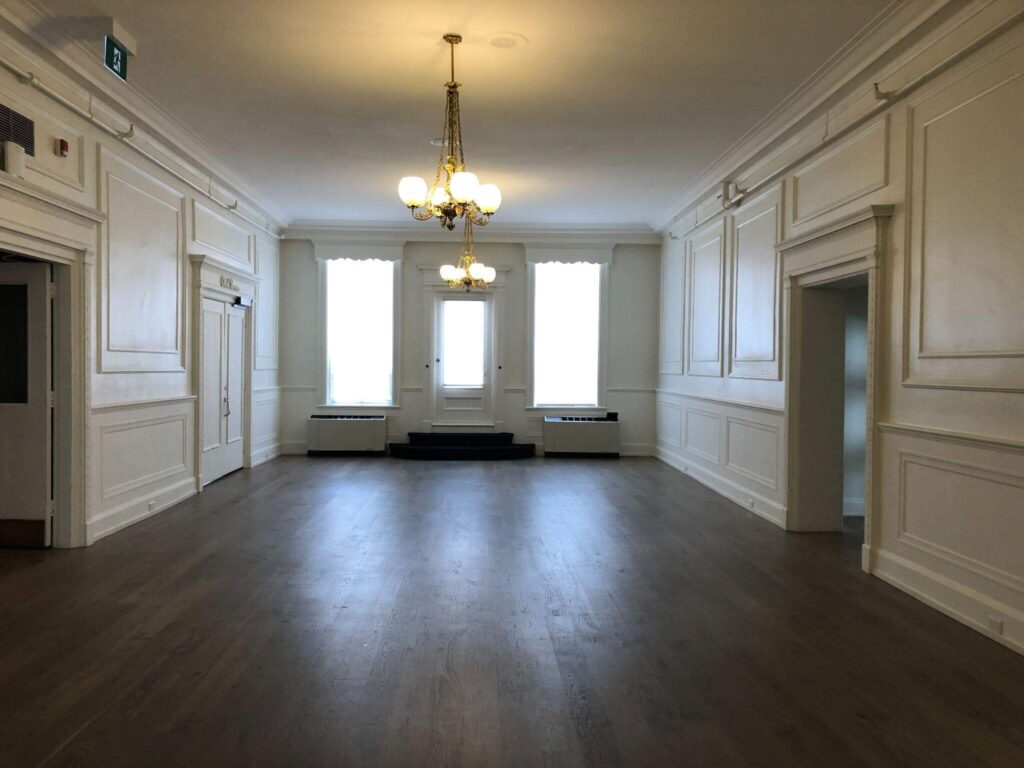
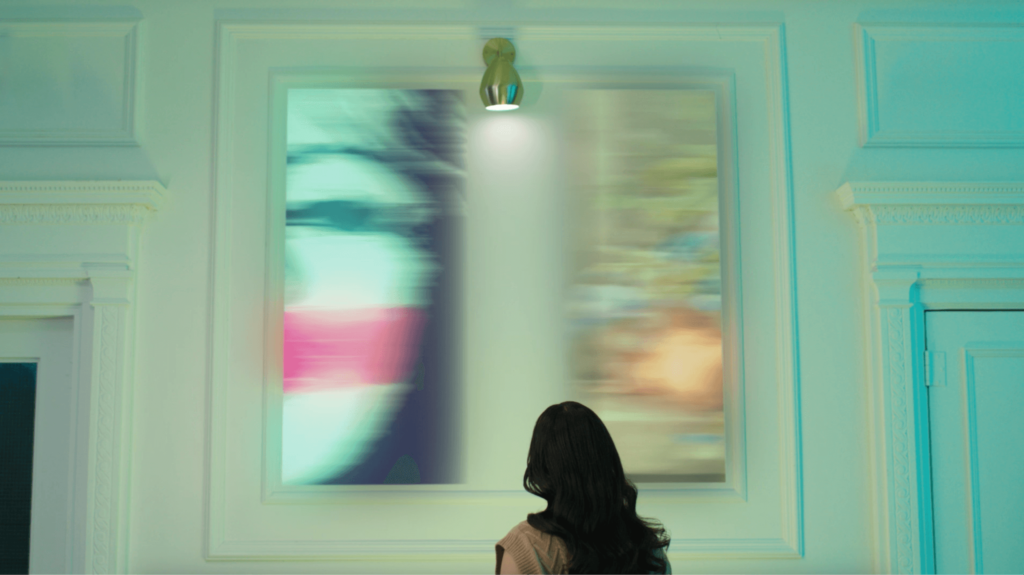
When it came to production design, given that we were talking about digital art, we wanted the video to take place in an art gallery. However, since NFTs are digital assets, we wanted the gallery to feel as if it existed in a surreal environment – somewhere between physical and digital. We liked the juxtaposition of an antiquated look with futuristic digital art. So, we found a location that had a more ornate look that would provide us with a fun canvas to be creative with. We landed at the Oak Lobby of the Walper Hotel in Waterloo, Ontario.
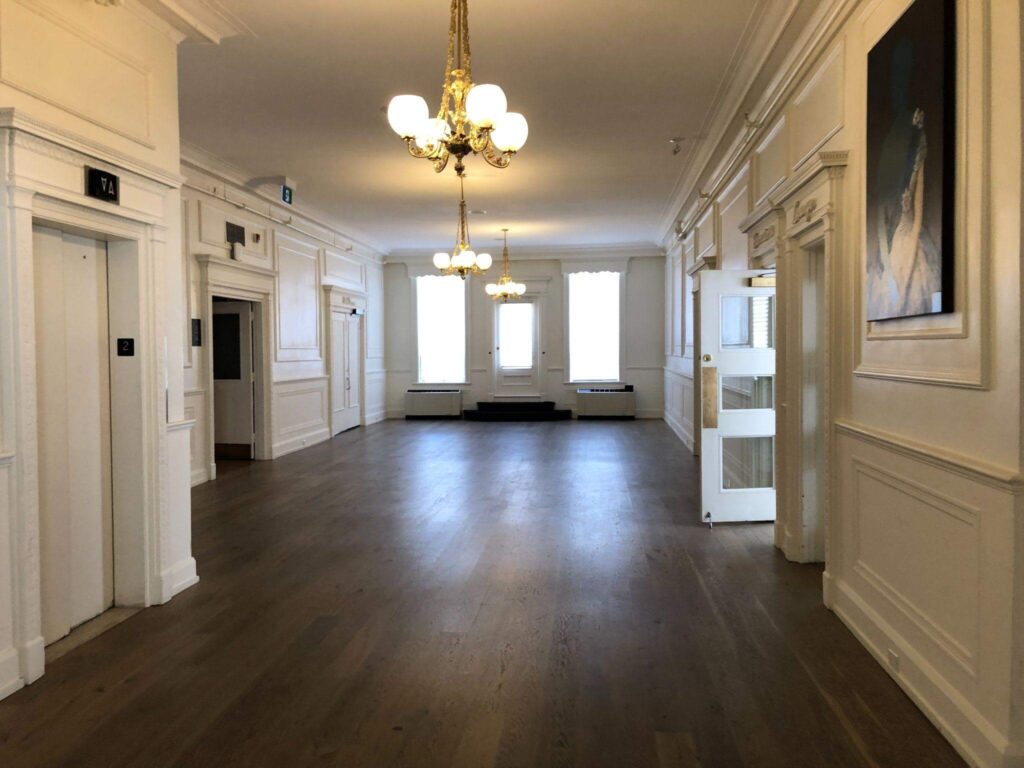
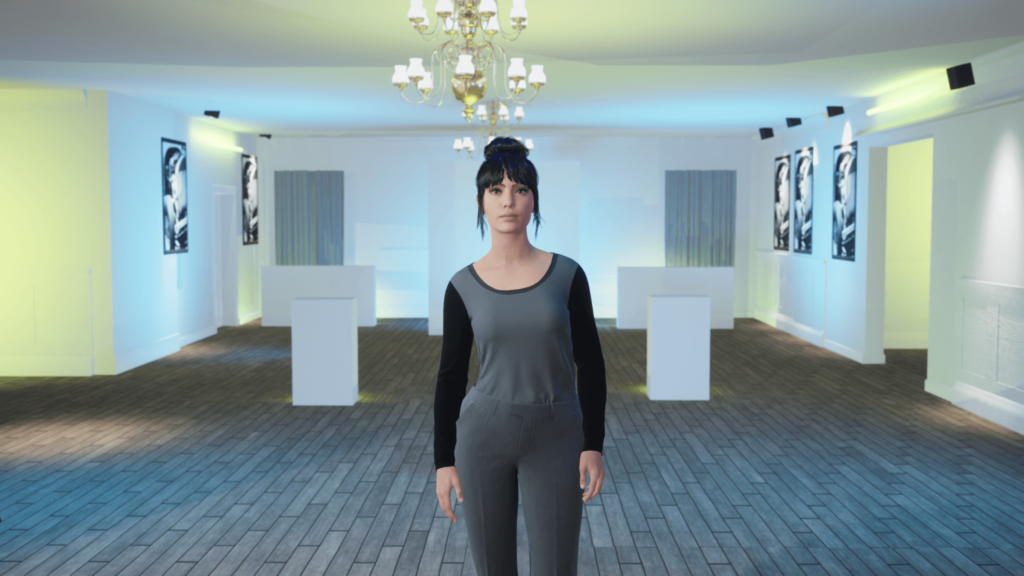
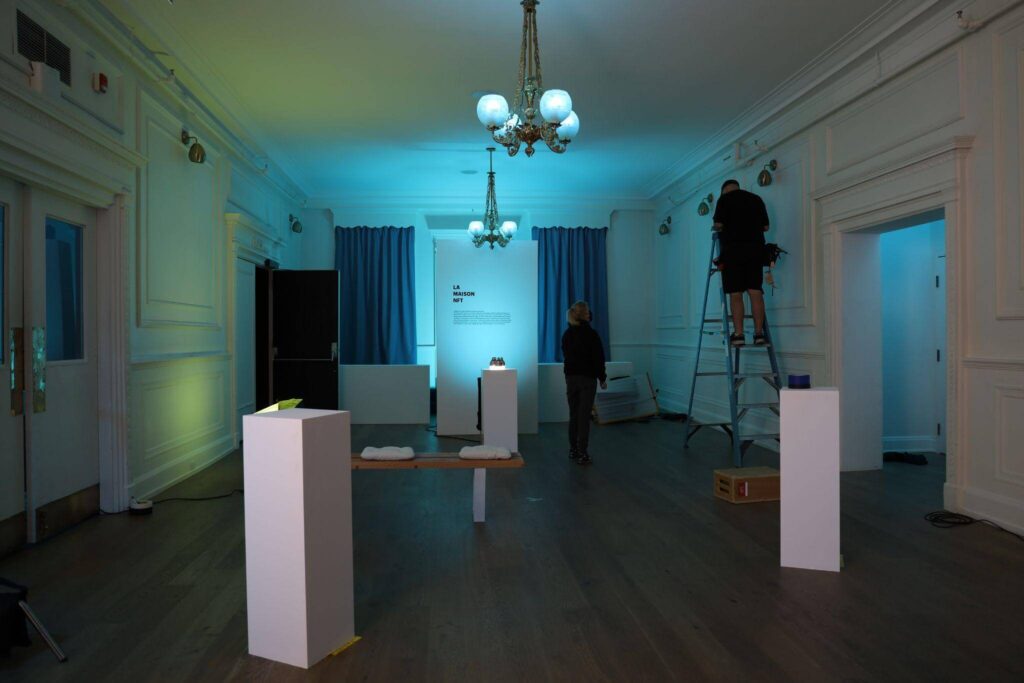
We designed and built physical places for the digital art to be displayed (plinths, wainscotting of the walls) and then opted to add the NFTs in post-production. We then lit the space with soft hues of blue and green to give it a more surreal feel.
The design process was two-fold: Photoshop mock-ups to determine art placement and 3D mock-ups to determine framing and lighting.
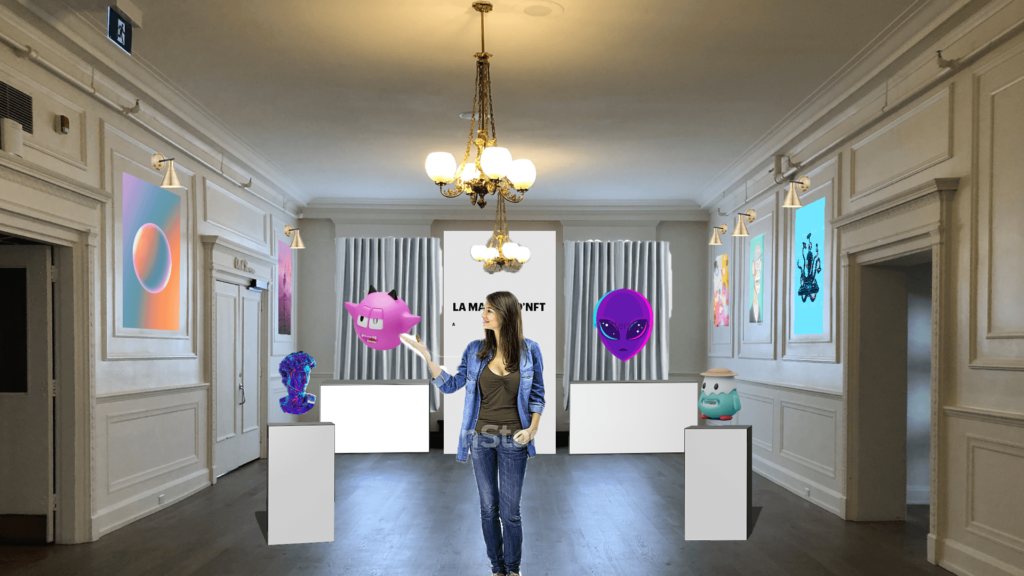
The end goal was to transform a hotel lobby into the art gallery of our dreams. A big kudos to our Production Designer, Matthew, for the design and carpentry.
Another big complexity with this video was the blocking. We needed to have Jesse, our hero, move throughout the gallery in a way that flowed with the story, but that also factored in the post-production complexity of compositing the NFT graphics.
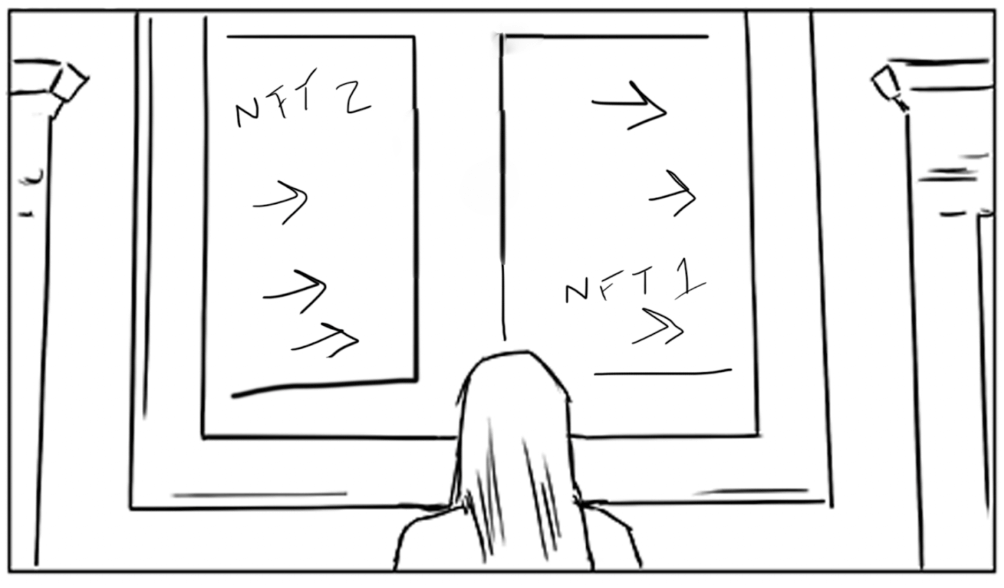
This is where one of the most important parts of pre-production comes in – storyboarding. We first storyboarded using a shot list that we had built from the script. Since we already knew where all of the NFTs were going to be (from our production design process) we were able to map out Jesse’s movement around the gallery in a way that flowed with her monologue.
The storyboarding step is vital because it helps the team and the client know generally what the video is going to look like ahead of time. It helps us and the client feel confident in the vision and end product way before we press record. It also helps us catch any flow, continuity, or logistical issues ahead of time. And yes, these tend to go through many rounds of revisions.
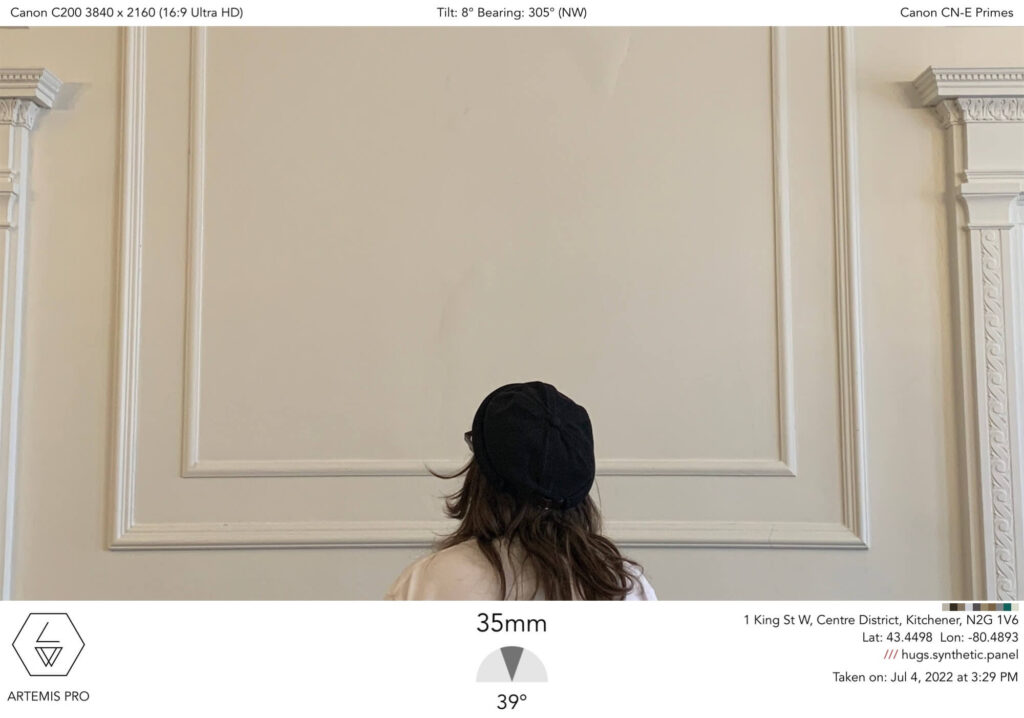
Once storyboards were built and approved, we revisited the location to block everything out and determine the exact shooting locations, framing and lens selection. This step was key because we only had one production day to work with – which meant we needed to be efficient on set. The best way to be efficient is to plan plan plan. So knowing exactly where the camera needed to be, what lenses were needed and what the general framing was ahead of time kept us moving quickly on production day.
Here is an example of going from Storyboard > Photoboard (Artemis) > Final Shot.
For fun: One of the other lingering problems I had in the back of my head was the receipt to golden ticket transition. Ultimately, we decided to go with some lo-fi camera tricks which is always fun. But, again, requires planning! See below for my hi-tech tests that (somehow) instilled confidence in our post-production team :

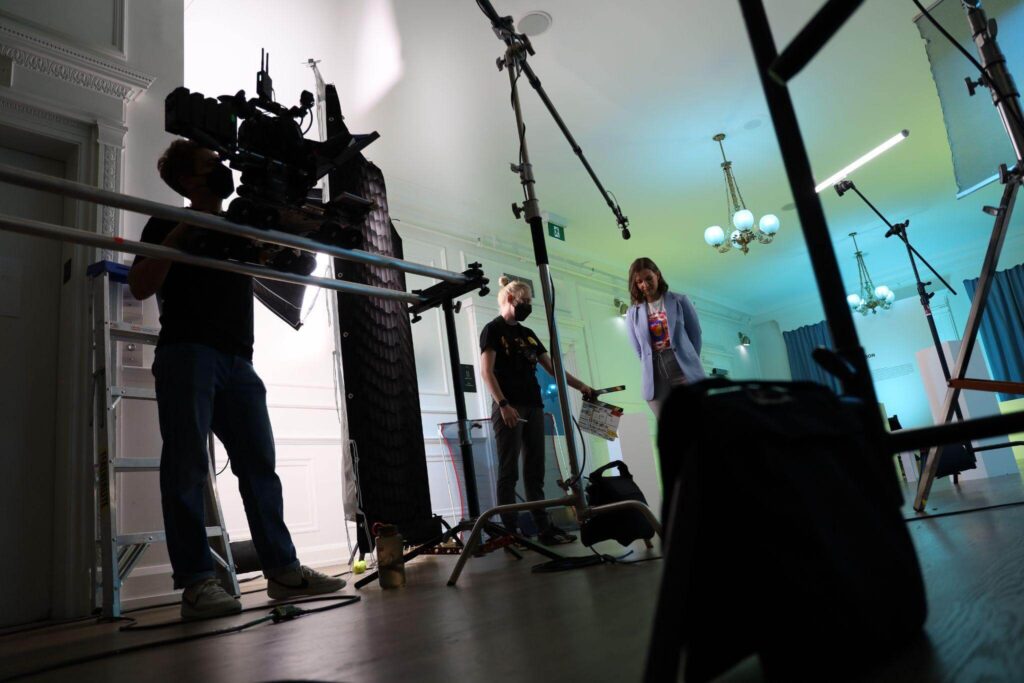
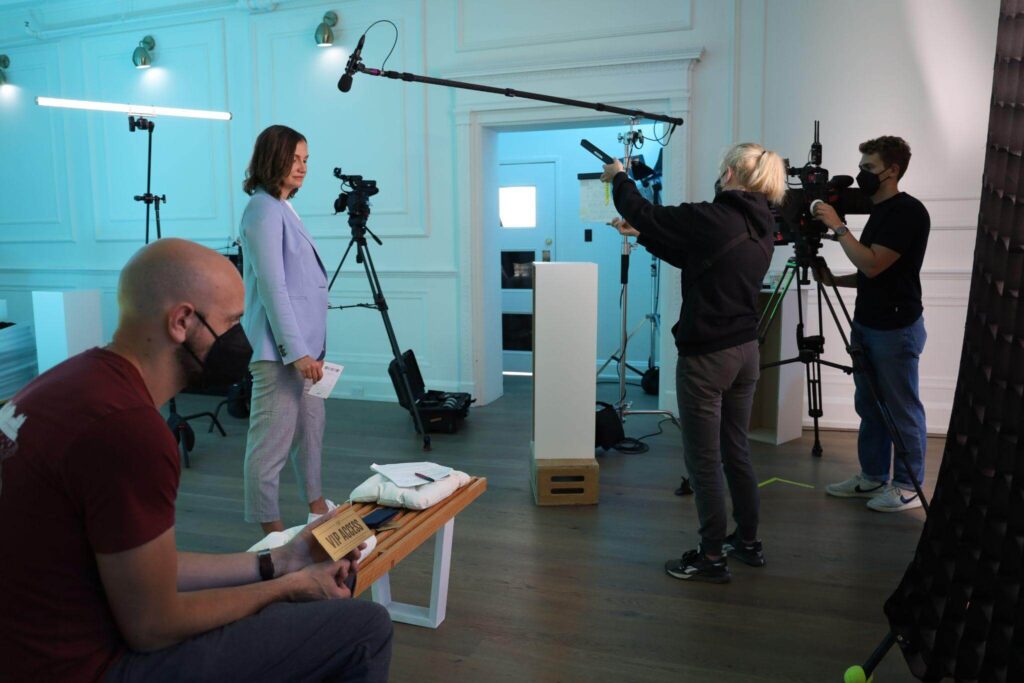
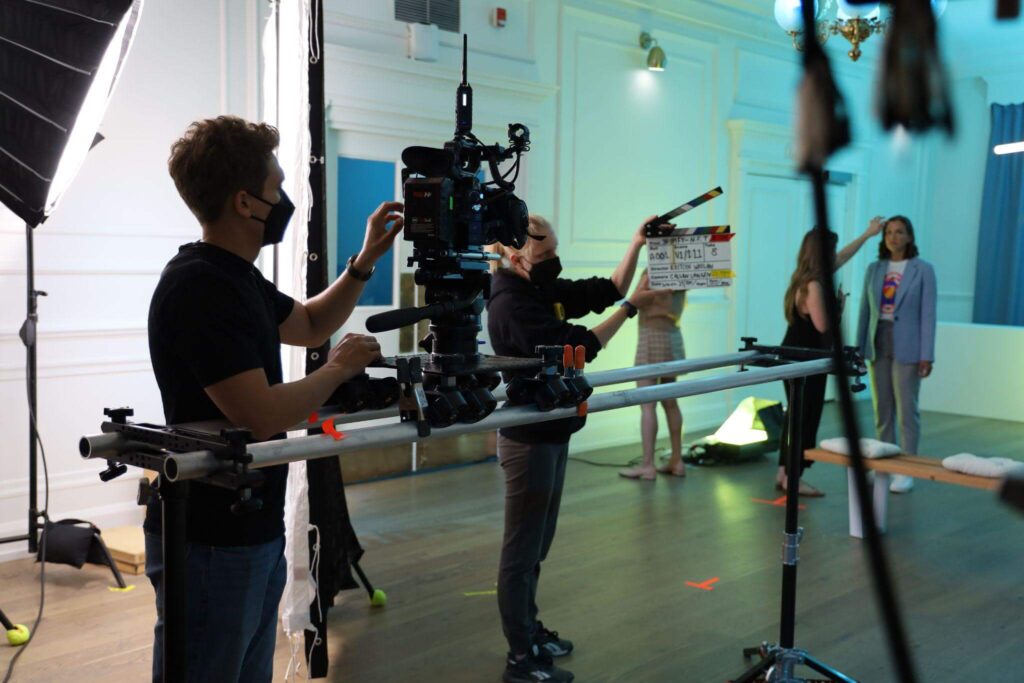
Next, we developed an extensive lighting plan so that we could bring in some blues and greens without revealing any light fixtures. This was a tricky ask in such a small location where we couldn’t hang off the ceiling. So we got creative with hiding lights. Below is the lighting plan with some BTS photos for reference.

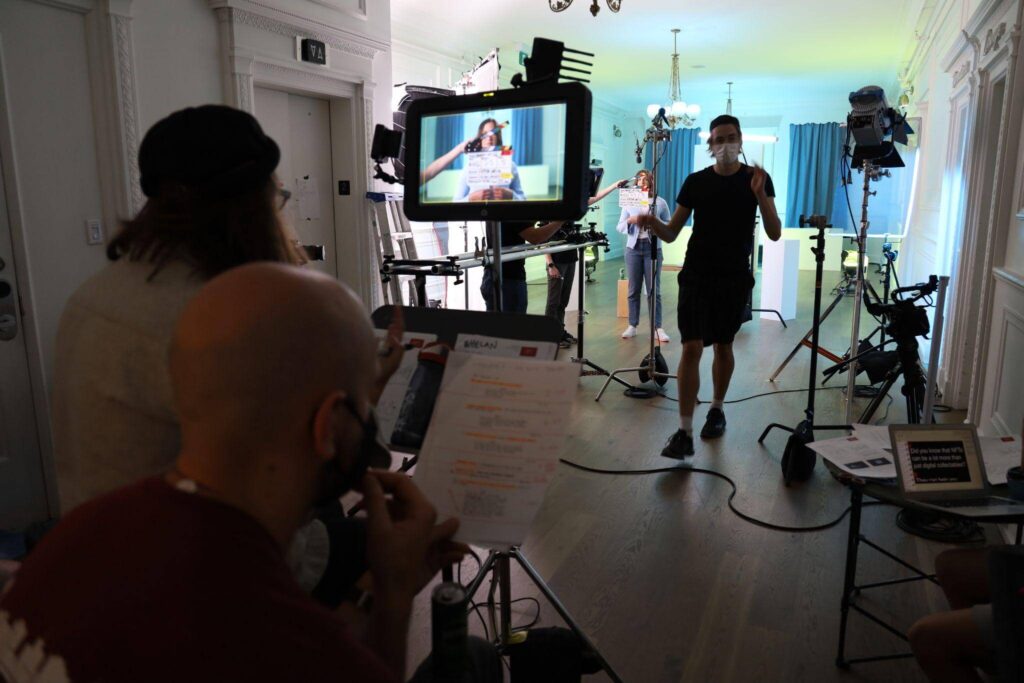
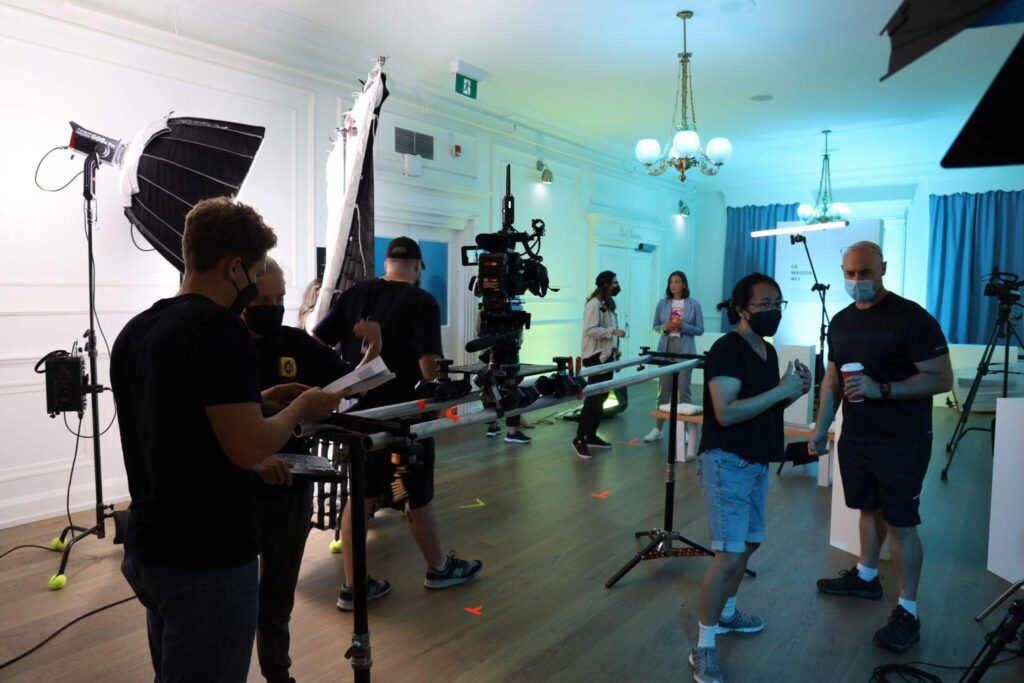
Production
We had a pre-light day scheduled so that we would have time to get the right lighting look and transform the hallway into an art gallery. While jam-packed, the production day ran smoothly thanks to good planning, a well-prepared host and a solid team. 13 hours later, the Walper was back to looking like a hotel and we had all the footage we needed to answer the age-old question: ‘What is an NFT?’

Post-Production
The final stage of this project was a comprehensive and complex one. The first step in post-production was assembling the edit and getting to picture-lock. This essentially involves building the video without any colour, sound effects or VFX. When you bring in elements like VFX, videos become much more difficult to alter as you move along in the process, so having a “locked picture” before moving into those stages is imperative. The tricky part with a video like this is that animation is such a big part of the final visual. We used placeholder illustrations to help clients visualize the final cut of the video in the early stages of editing.
Once we had picture-lock, our VFX artist went to work compositing the live-action scenes with NFT art and animating our illustrative sequences. Here is a quick VFX breakdown to show where we started and where we got to:
I am sure our VFX lead could write a whole blog post on just the VFX process for this video.
The final steps were colour grading and sound mixing. Once this was complete, we finally answered the question ‘What is an NFT?’
Thanks for reading! I hope this sheds a little light on what goes into a video production like this.
And always remember…